
Painting Essentials
Essential materials and tips for painting and finishing your 3D prints
3D printing is only the first step in bringing your digital models to life. To achieve a truly professional and long-lasting result, a good finishing process is essential. This guide will walk you through the essential materials and steps needed to paint your 3D prints successfully, ensuring your creations look exactly as you envisioned.
Recommended Materials
Primer
A good primer will make painting much easier, requiring less layers and giving you a smoother finish. It is the most important preparation step before painting - it will make the print surface more porous so the paint will adhere more easily. Make sure the primer you get is appropriate for plastic surfaces. Use a spray primer for a more homogeneous result, applied in thin layers.
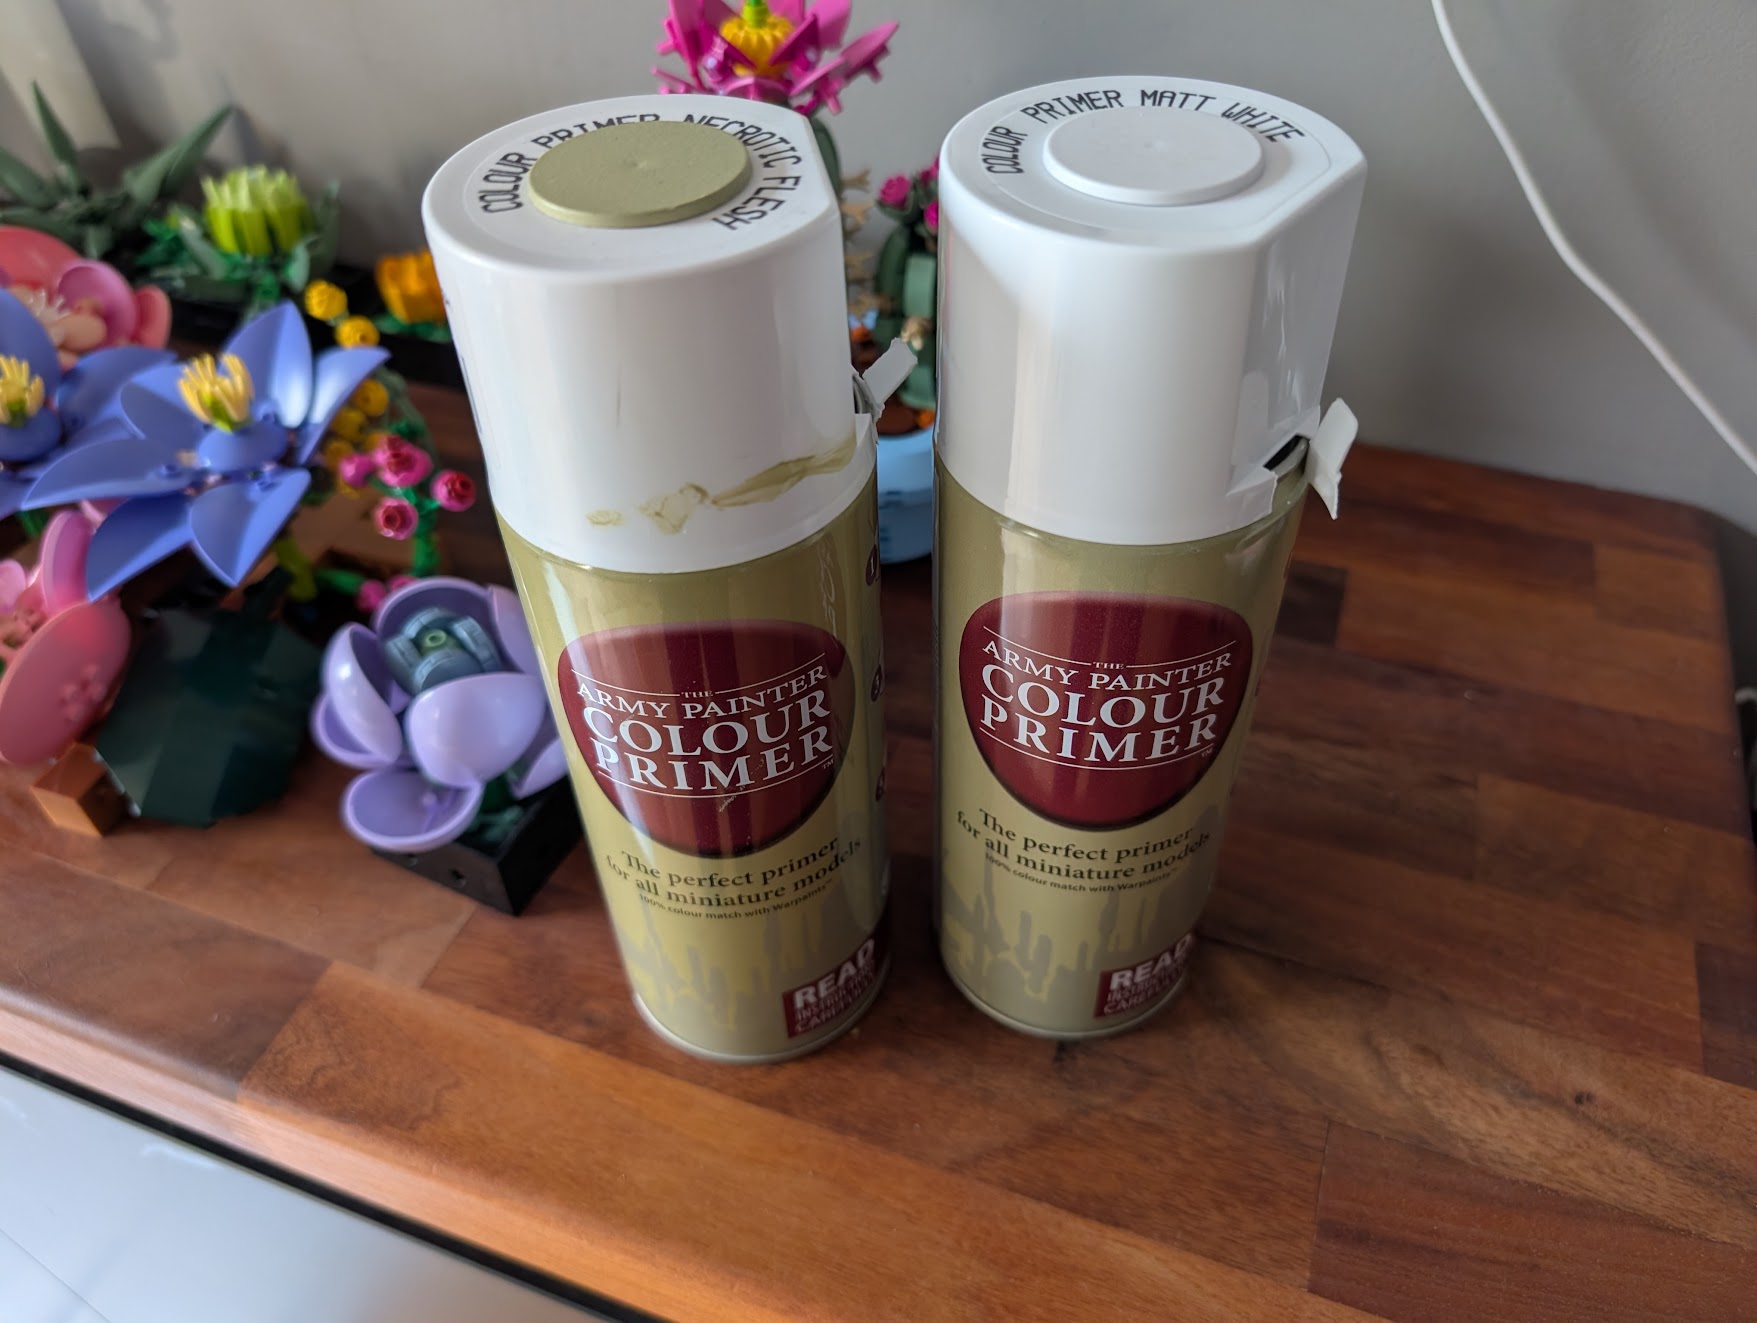 I use these two for everything: white for most models and a green-ish color for darker paint work.
The color of the primer can facilitate the painting process: if you’re painting with dark colors, it is better to use a darker tone so when painting you need less layers. It is also a good idea to use a filament of a different color than the primer, to be able to see more easily any missing parts on the model while applying the primer.
Paints
Look for concentrated acrylic paints made for painting miniatures. There are a few different brands, but The Army Painter stands out as a good quality / price ratio and they have good Starter kits for beginners.
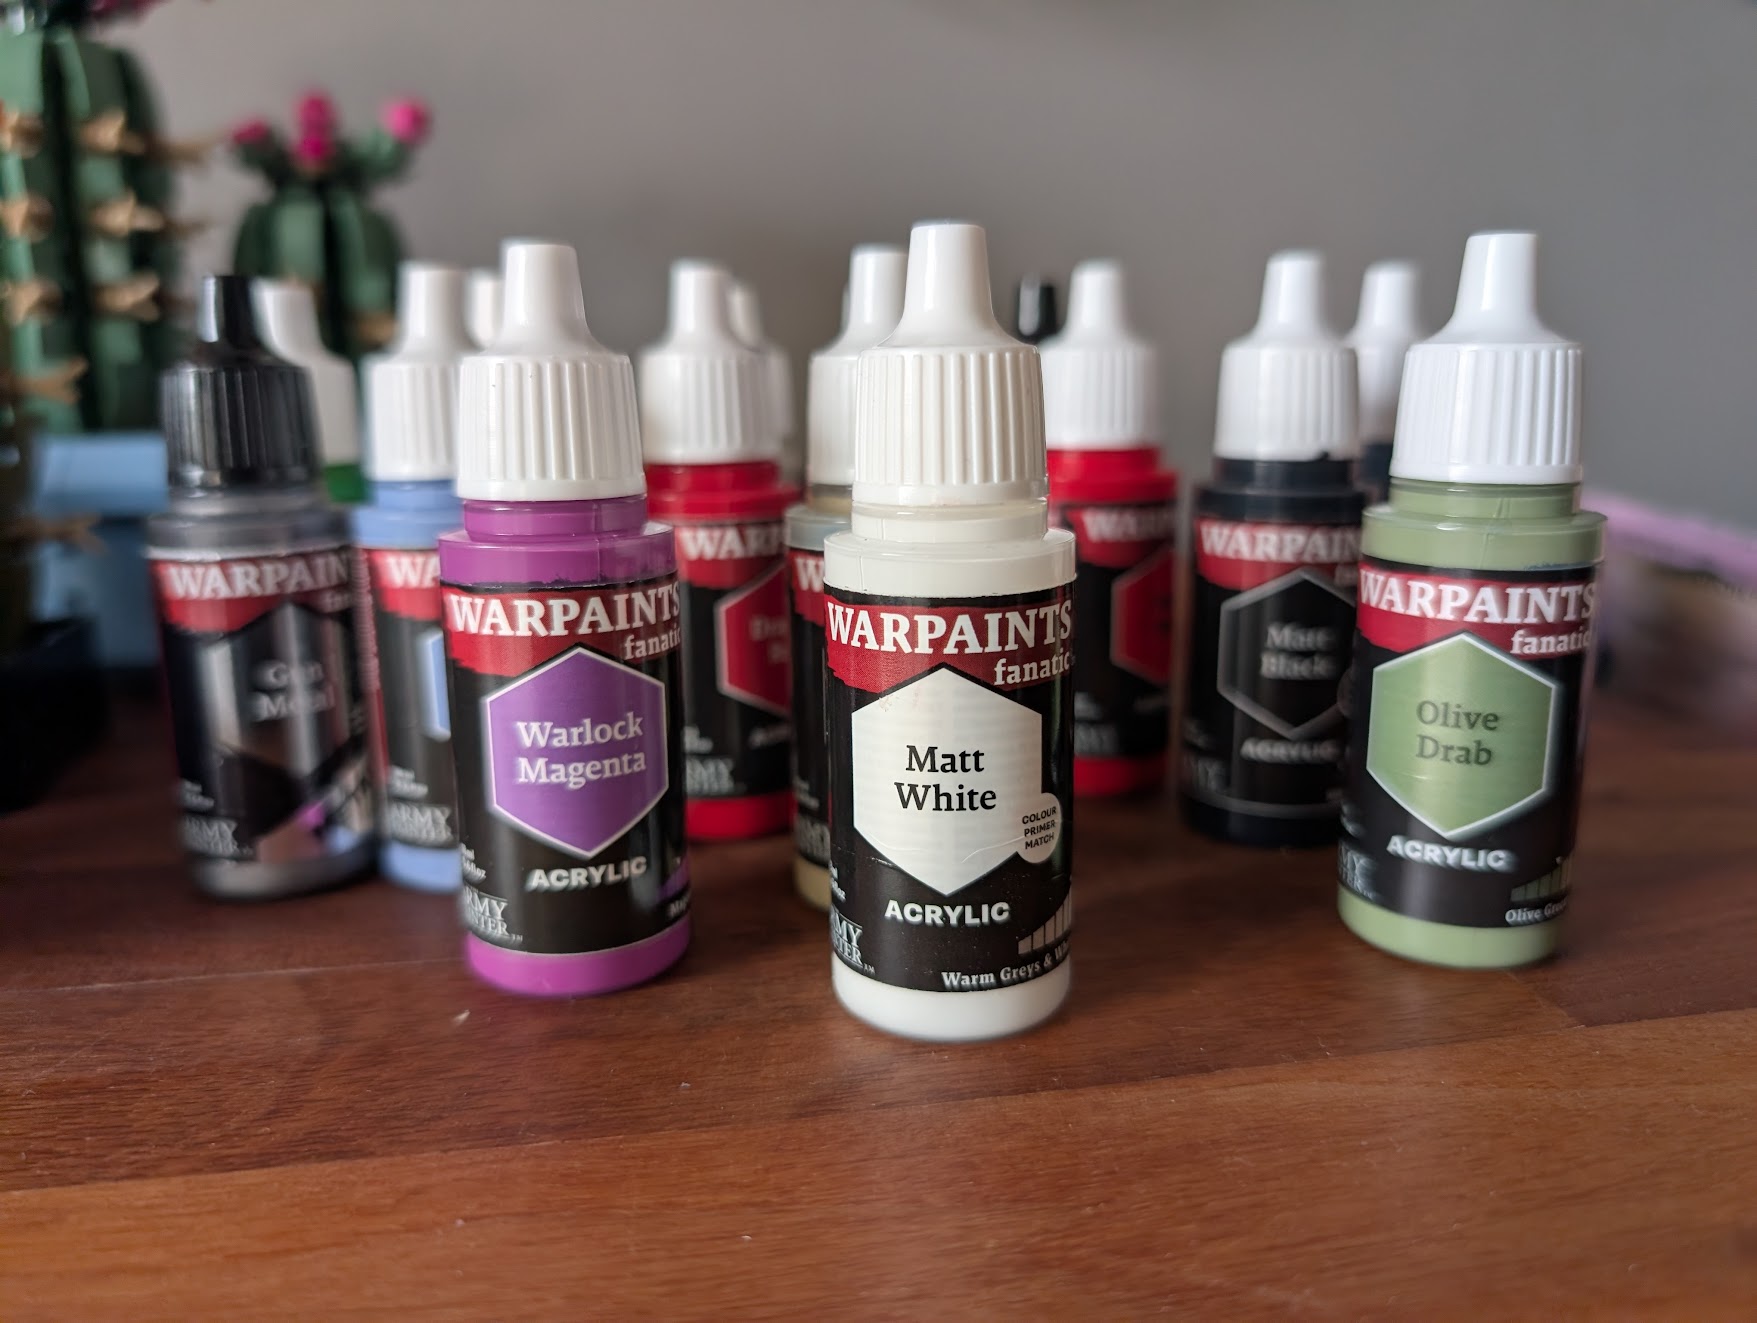
These paint bottles come with a small metal ball inside to facilitate shaking / mixing. Always do a good shake before using, and keep it closed so it doesn't dry out.
A more generic option would be acrylic paints or pens - they tend to be less concentrated and require more layers, though. A primer specific for plastic is still highly recommended for better results, no matter what kind of paints you choose!
Paint Brushes
Although prints can be of any size, there are typically many details (especially for painting characters), so you'll want to make sure you have adequate brushes for details. These are the ones I use the most (all from The Army Painter):
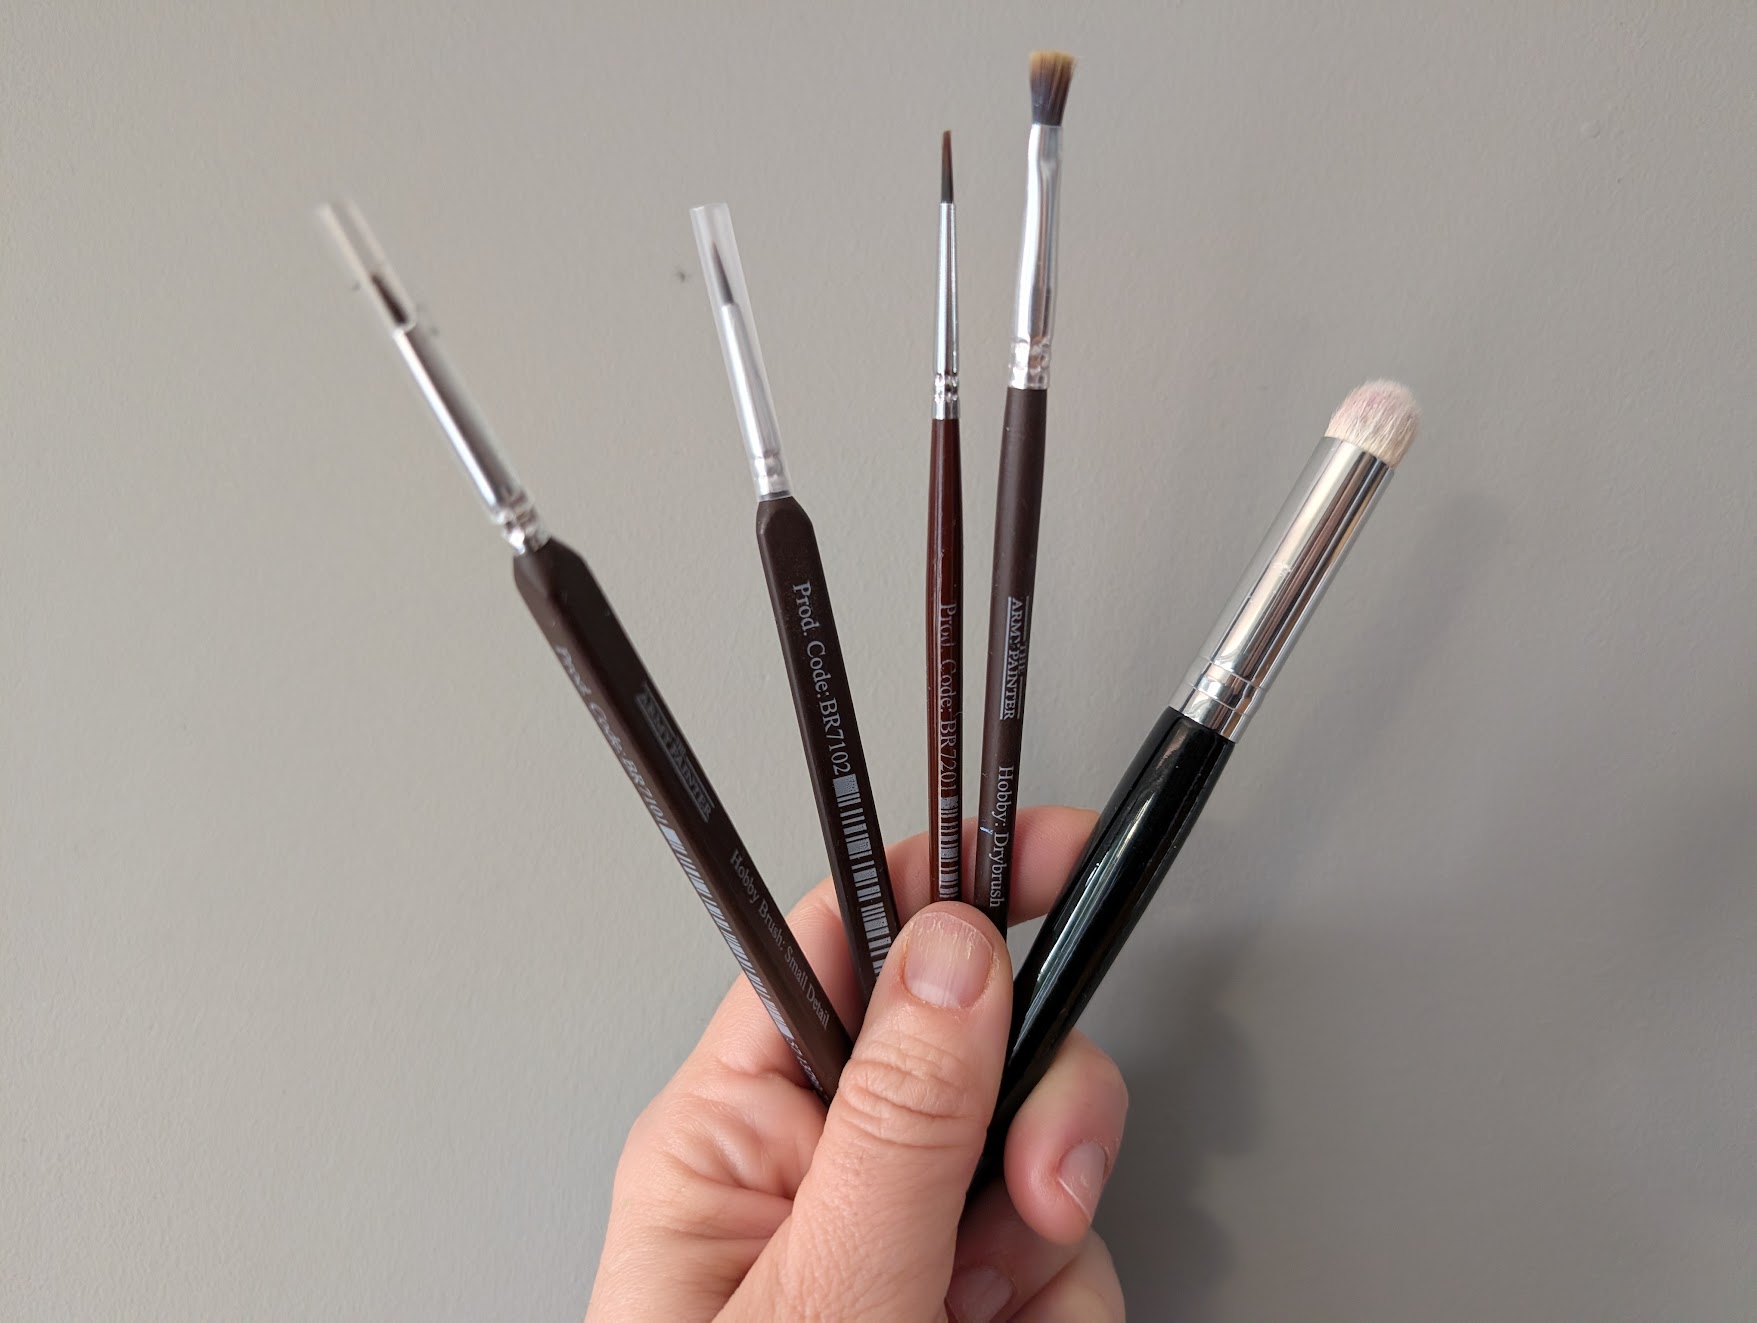
Take good care of your paint brushes and they will last for a very long time! Never let them dry with paint on, and also don't let it soaking in a water cup as this will make it lose its form (especially important for fine-detail brushes). Clean after use and let it stay out of the water.
Varnish
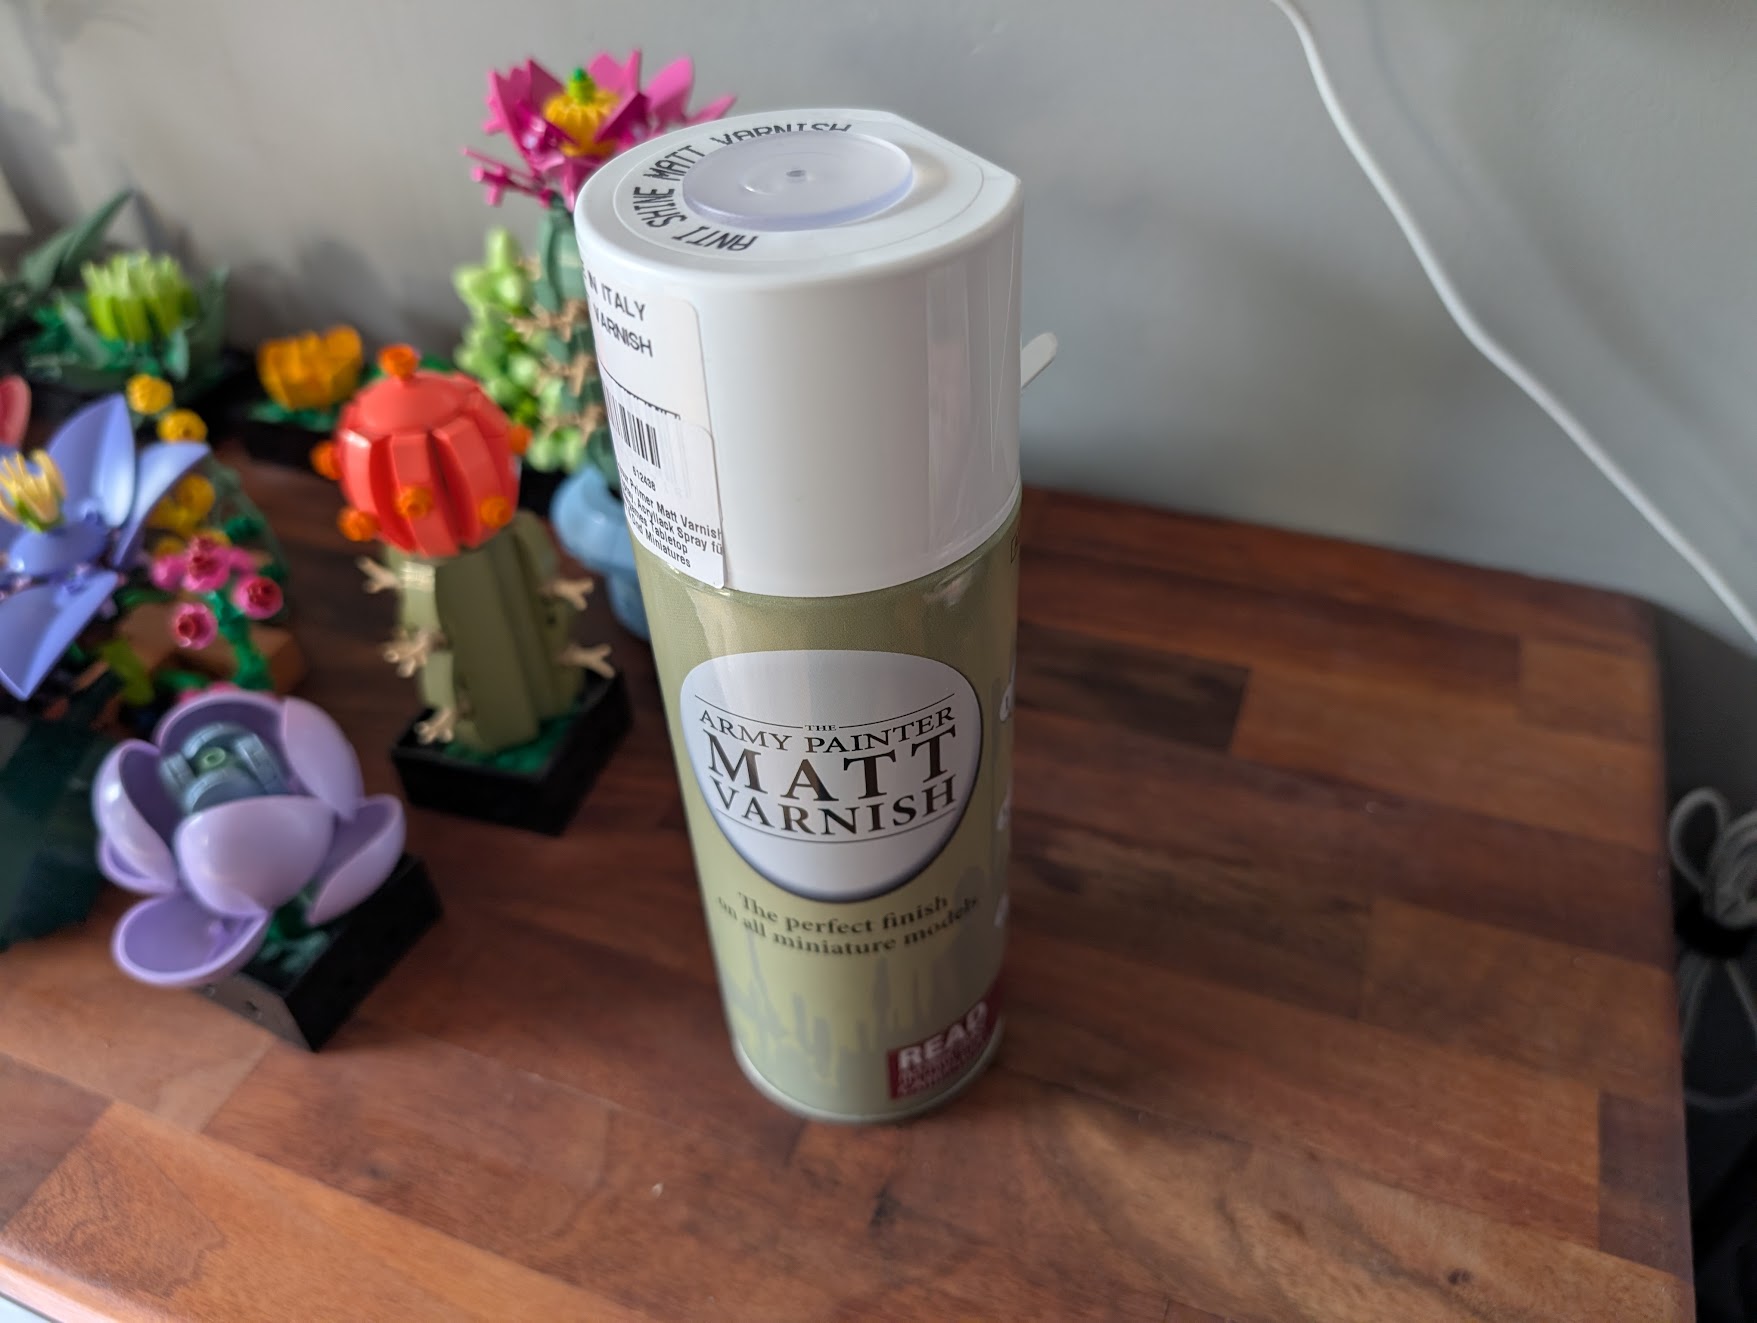
Sealing your paint with a varnish is a crucial final step to protect your model and ensure it remains resistant to staining, scratching, or fading over time. For a natural-looking finish that complements most models, a matte or no-shine varnish is an excellent choice.
Painting Guide
Here's a quickstart for preparing the print for painting:
- In case the print required brim or supports, remove any remaining artifacts.
- If you do sand your print, make sure you remove the dust before priming. It’s a good idea to wash it and let it dry.
- Then, apply thin coats of primer, until it covers the whole model. You should be working with a spray bottle, keeping a distance of about 15cm from the model. You’ll need to - move the model around to apply the primer on all parts. Let it dry before applying a new coat.
- The color of the primer should be based on the colors you want to use for the model; use white (or another light color) if your color scheme is light, or use a darker gray color or similar for darker palettes. This way you’ll need fewer coats of paint.
And here is a reliable process for a clean color coverage and a durable finish:
- Use thin layers of acrylic paint and build color in multiple light passes to preserve detail.
- Start with darker colors, and build from there, leaving details for last.
- For more realism, add shading in recesses and highlights on edges.
- Let the model dry completely before handling, especially between major color zones.
- Finish with a clear coat: matte for display realism, satin for a mild sheen, gloss for vibrant, toy-like finishes.

Wrapping Up
By following these steps—starting with the right primer and using quality paints—you can ensure your 3D prints look their absolute best. Taking good care of your brushes will make the process easier and more enjoyable. Most importantly, remember to protect your finished work with a coat of varnish. Now you have all the knowledge to transform your digital creations into durable, professional-looking physical models.